Custom Machine Learning models in iOS apps
In the previous chapter: 2/5 Native domain-specific Machine Learning frameworks for iOS developers the native frameworks (provided by Apple) for creating artificially intelligent iOS applications were introduced. However, in some cases, developers might want to implement Machine Learning powered features that these frameworks do not provide. This chapter introduces how to use a custom Machine Learning model with Core ML. With this knowledge, developers will be able to take their iOS applications to the next level.
Find, download & use already trained models
There is a vast amount of already trained models that are publicly available and ready to be used. All that is needed is to find, download & integrate them in your application, simple as that 🚀. Here is the list of suggested places to look for the models:
-
Machine Learning models are already in Core ML format, (which is
.mlmodel) and could be immediately used in your iOS application.
the largest collection of Machine Learning models in Core ML format, to help iOS, macOS, tvOS, and watchOS developers experiment with machine learning techniques.
Usage of Core ML format models .mlmodel
It is quite simple to use the models that are already in .mlmodel format. Let’s go through the example of using the SqueezeNet Image Classification model that classifies the dominant object in a camera frame or image. The example code is written in the Playgrounds project and can be found here.
The first thing that we need to do - download, drag and drop the model into the project.
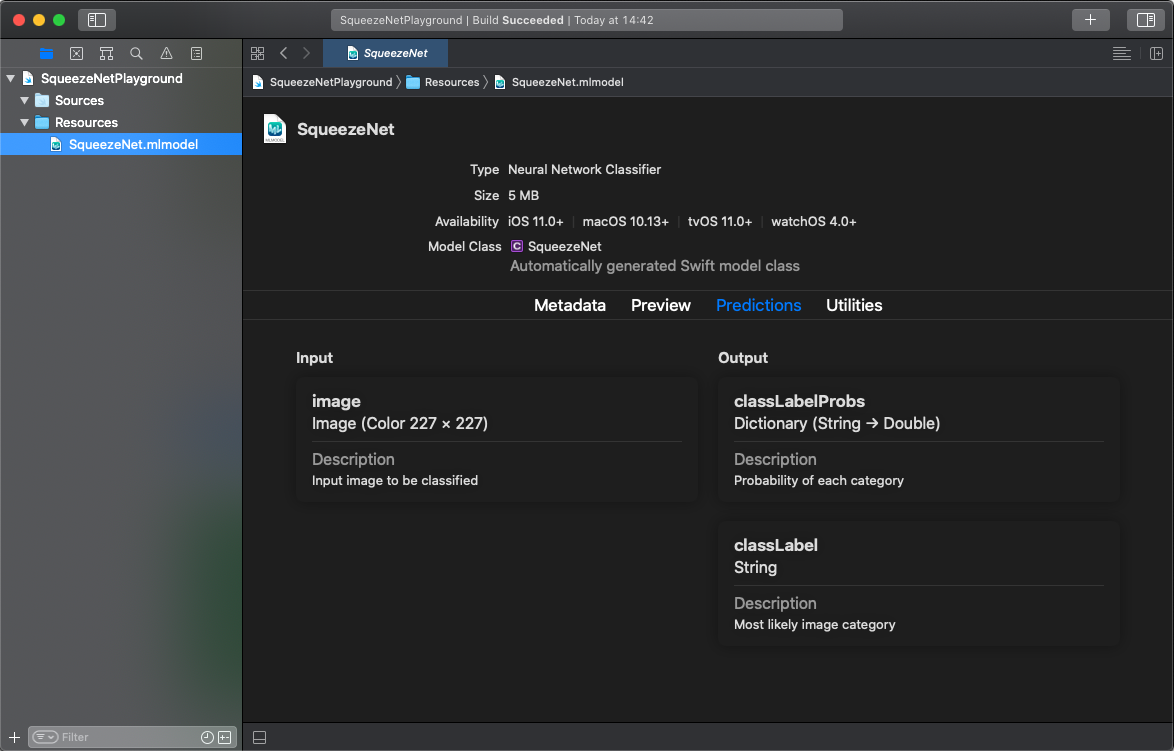 By selecting the imported model we immediately get some useful information about it, like what are the input and output types and interesting metadata.
Besides using some UIImage extensions (thanks @francoismarceau29) for formatting the image to meet input requirements, this is all the code needed to get predictions from the model:
import CoreML
import UIKit

func getPredictions(for image: UIImage) {
    let errorMessage = "Could not predict with a given picture"
    // 1. Initialize the SqueezeNet model
    guard let model = try? SqueezeNet(configuration: MLModelConfiguration()),
          // 2. Resize image & convert to CVPixelBuffer to meet the input requirements
          let resizedImage = image.resize(to: CGSize(width: 227, height: 227)),
          let buffer = resizedImage.toCVPixelBuffer(),
          // 3. Get predictions 🚀
          let predictions = try? model.prediction(image: buffer).classLabelProbs else {
        print(errorMessage)
        return
    }

    let sortedPredictions = predictions.sorted { $0.value > $1.value }
    sortedPredictions.forEach {
        print("\(String(format: "%.1f", $0.value * 100))% probability: \($0.key)")
    }
}

if let image = UIImage(named: "myCatPic.jpg") {
    getPredictions(for: image)
}
- The SqueezeNet model is initialized by simply accessing it via the model’s name.
- SqueezeNet model expects the image as an input, which size is
227 x 227 px. Also, an image must be converted to aCVPixelBufferformat. - Receive predictions from the model by calling the
model.prediction(...)method. - Profit!
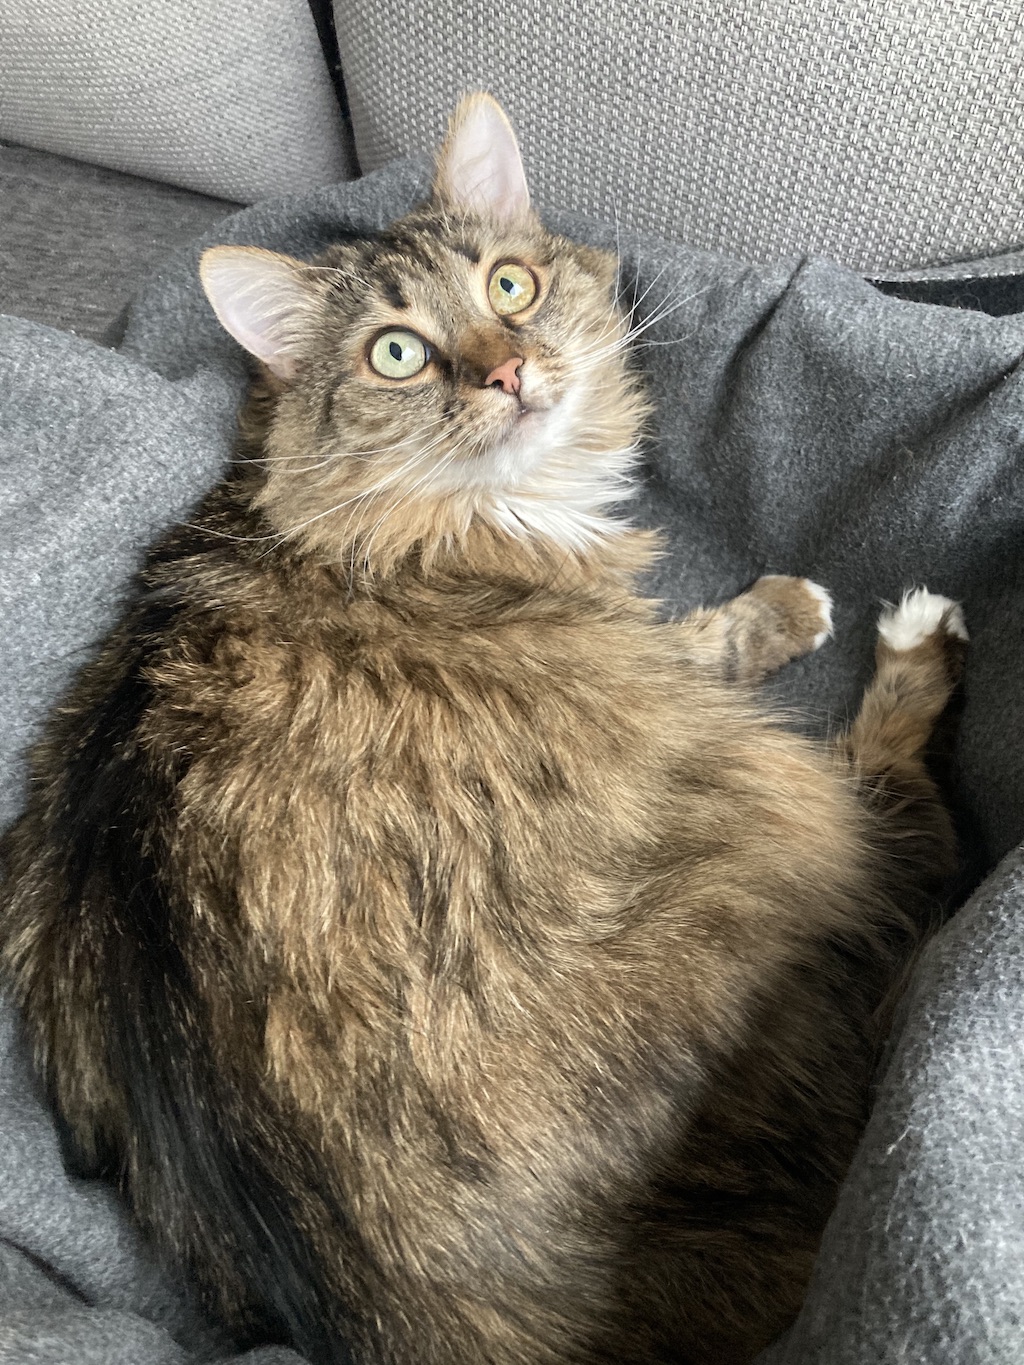
After passing the picture of my cat to the model, I learned that my cat is a “tabby cat” because it has an ‘M’ shaped marking on its forehead.
48.4% probability: tabby, tabby cat
29.6% probability: Egyptian cat
16.9% probability: tiger cat
2.9% probability: Persian cat
1.9% probability: lynx, catamount
0.2% probability: wood rabbit, cottontail, cottontail rabbit
Sweet!
Only a couple of lines of Swift code are required to make the SqueezeNet Image Classification model work with Core ML. And in fact, most often if a model is already in the .mlmodel format, all that is needed is to modify the input data to match the model’s input requirements.
There is an alternative way of running a custom Core ML model - loading and running it not directly with Core ML, but with the help of Vision framework (or any other domain-specific framework). These frameworks provide some great additional functionality that might be useful for your feature. The method of running the Machine Learning model with Sound Analysis demonstrated in the following article 4/5 Training Machine Learning models for the iOS App with Create ML and Turi Create.


Comments